
I started by spending about $150 USD on a UDOO NEO.
Then I needed to put the OS on it… That was a hassle. It started out smooth enough. I already had a microSD card. I purchased a UGreen USB stick for it. Then, I started following the tutorial here: https://www.udoo.org/get-started-udoo-neo/. I clicked here https://www.udoo.org/check-out-the-resources/ and downloaded the first one: UDOObuntu 2.3.0 (Ubuntu 14.04 LTS). So far so good. Unzipping this yielded a .img file. I tried to mount it. It was corrupt. NOPE. It was just a Linux image for Ubuntu, not a Windows .img.
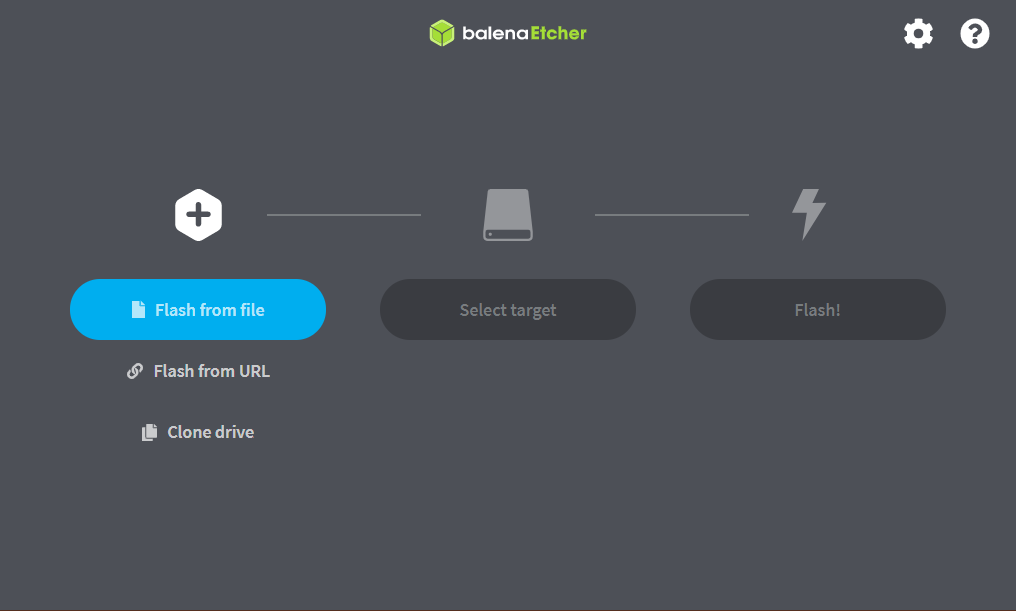
On to Chapter 2. NOPE. The video looked like terminal on a Mac. I tried git bash instead. The commands were there, but I could not figure out how to unmount the thumb drive. Eventually, I found out about this tutorial. But don’t bother. It says in the fine print to use balena-etcher instead. I clicked this link. Then downloaded the Windows version and installed it. Running it was SUPER-EASY! I picked my .img file, then picked my USB drive, then Flashed it. Two minutes later, I had an Ubuntu image on the microSD card.
Two minutes after that I had the card in the UDOO, had the UDOO plugged in, and switched my monitor to HDMI2 in time to see the UDOObuntu splash green make way for the Ubuntu Desktop.
WOOHOO! Progress!
Now, if I just knew where I put that spare network cable…
